from IPython.display import display, HTML
import json

# Data to pass (example: nodes and links for the force-directed graph)
data = {
    'nodes': [{'id': 0}, {'id': 1}, {'id': 2}],
    'links': [{'source': 0, 'target': 1}, {'source': 1, 'target': 2}]
}

# HTML/JS code to embed Observable in Jupyter
observable_code = f"""
<div id='chart'></div>
<script type="module">
  import {{ Runtime, Inspector }} from "https://cdn.jsdelivr.net/npm/@observablehq/runtime@4/dist/runtime.js";
  import define from "https://api.observablehq.com/@d3/force-directed-graph.js?v=3"; // Use Observable's force-directed graph

  const runtime = new Runtime();

  runtime.module(define, name => {{
    if (name === "chart") return new Inspector(document.querySelector("#chart"));
  }});

  // Pass the Python data to Observable
  const data = {json.dumps(data)};

  // This assumes that Observable can receive external data like this, or you'd modify the Observable notebook to accept it.
</script>
"""

# Display the graph in Jupyter
display(HTML(observable_code))Intro
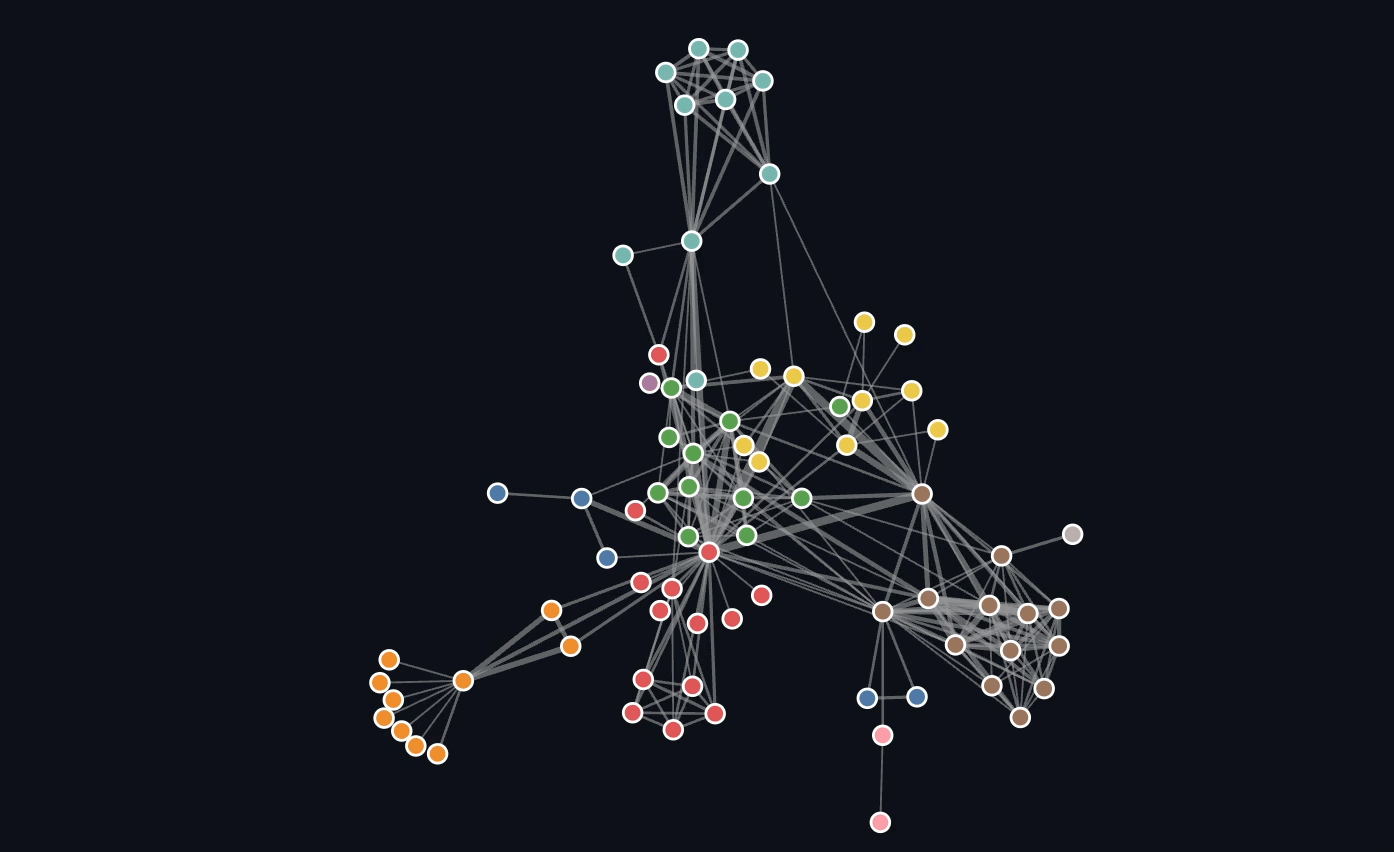
Lets try use the fancy force graph diagram in python!
Relevant Development
observable js: Generalized Observable Framework - pyobsplot allows to use Observable Plot to create charts in Jupyter notebooks, VSCode notebooks, Google Colab and Quarto documents. Plots are created from Python code with a syntax as close as possible to the JavaScript one.
d3py: A thin Python Wrapper for usage with graph network.
Place Data into Observables
Use Obserable
This is called an embedment. However the data won’t quite update with this. I’m gussing if you use observable direction you don’t need the “https://api.observablehq.com/”, you just need everything after @.
This is also a bit misleading because the force digram is just grabing element from observable instead of customise creating what we whated.
Use D3 By itself
Start from scratch, warp some python data in a jupyter notebook. Here is a script given by AI
from IPython.display import display, HTML
import json

# Data for nodes and links (Python dictionary)
data = {
    'nodes': [{'id': 0, 'name': 'A'}, {'id': 1, 'name': 'B'}, {'id': 2, 'name': 'C'}],
    'links': [{'source': 0, 'target': 1}, {'source': 1, 'target': 2}]
}

# Convert the Python data to JSON (so it can be used in JavaScript)
json_data = json.dumps(data)

# HTML and JS to render the force-directed graph with D3.js
html_code = f"""
<div id="d3-graph"></div>
<script src="https://d3js.org/d3.v7.min.js"></script>
<script>


// Parse the Python data passed to the script
const graphData = {json_data};

// Set the dimensions of the graph
const width = 600;
const height = 400;

// Append an SVG element to the div with id 'd3-graph'
const svg = d3.select("#d3-graph")
    .append("svg")
    .attr("width", width)
    .attr("height", height);

// Define the force simulation
const simulation = d3.forceSimulation(graphData.nodes)
    .force("link", d3.forceLink(graphData.links).id(d => d.id).distance(100))
    .force("charge", d3.forceManyBody().strength(-400))
    .force("center", d3.forceCenter(width / 2, height / 2));

// Create the link (line) elements
const link = svg.append("g")
    .selectAll("line")
    .data(graphData.links)
    .enter()
    .append("line")
    .attr("stroke", "#999")
    .attr("stroke-width", 2);

// Create the node (circle) elements
const node = svg.append("g")
    .selectAll("circle")
    .data(graphData.nodes)
    .enter()
    .append("circle")
    .attr("r", 10)
    .attr("fill", "steelblue")
    .call(drag(simulation));

// Dragging functionality for nodes
function drag(simulation) {{
    function dragstarted(event, d) {{
        if (!event.active) simulation.alphaTarget(0.3).restart();
        d.fx = d.x;
        d.fy = d.y;
    }}

    function dragged(event, d) {{
        d.fx = event.x;
        d.fy = event.y;
    }}

    function dragended(event, d) {{
        if (!event.active) simulation.alphaTarget(0);
        d.fx = null;
        d.fy = null;
    }}

    return d3.drag()
        .on("start", dragstarted)
        .on("drag", dragged)
        .on("end", dragended);
}}

// Update positions of nodes and links on each tick
simulation.on("tick", () => {{
    link
        .attr("x1", d => d.source.x)
        .attr("y1", d => d.source.y)
        .attr("x2", d => d.target.x)
        .attr("y2", d => d.target.y);

    node
        .attr("cx", d => d.x)
        .attr("cy", d => d.y);
}});

</script>
"""
This AI code will not display anything in jupyter notebook. Because d3 module is not imported correctly. However it does if we written done in html_code and display in browser
if False:
    with open('d3force.html', "w") as f:
        f.write(html_code)
Work-around is probably use vanilla javascript. Based on official documentation: https://d3js.org/getting-started. To use this in a package
# Data for nodes and links (Python dictionary)
json_data = {
    'nodes': [{'id': 0, 'name': 'A'}
              , {'id': 1, 'name': 'B'}
              , {'id': 2, 'name': 'C'}
              ,{'id': 3, 'name': 'D'} ],
    'links': [{'source': 0, 'target': 1}
              , {'source': 1, 'target': 2}
              , {'source': 1, 'target': 3}
              , {'source':2, 'target': 3}]
}

html_code_2 = f"""
<p id="dev"></p>
<div id="d3-graph"> </div>
<script type="module">

import * as d3 from "https://cdn.jsdelivr.net/npm/d3@7/+esm";

// Parse the Python data passed to the script
const graphData = {json_data};

// Set the dimensions of the graph
const width = 600;
const height = 400;

// Append an SVG element to the div with id 'd3-graph'
const svg = d3.select("#d3-graph")
    .append("svg")
    .attr("width", width)
    .attr("height", height);

// Define the force simulation
const simulation = d3.forceSimulation(graphData.nodes)
    .force("link", d3.forceLink(graphData.links).id(d => d.id).distance(100))
    .force("charge", d3.forceManyBody().strength(-400))
    .force("center", d3.forceCenter(width / 2, height / 2));

// Create the link (line) elements
const link = svg.append("g")
    .selectAll("line")
    .data(graphData.links)
    .enter().append("line")
    .attr("stroke", "#999")
    .attr("stroke-width", 2);


// Create the node (circle) elements
const node = svg.append("g")
    .selectAll("circle")
    .data(graphData.nodes)
    .enter().append("circle")
    .attr("r", 10)
    .attr("fill", "#a3e4d7")
    .attr("stroke-linecap", "round")
    .attr("stroke-linejoin", "round")
    .call(drag(simulation));

// Add Label To Node: This technique is adding element instead of text on top of label
const text1 = svg.append("g")
    .attr("class", "labels")
    .selectAll("text")
    .data(graphData.nodes)
    .enter().append("text")
    .attr("dx", 12)
    .attr("dy", ".35em")
    .text(function(d) {{ return d.name }})

// Obnoxious as it is, you are essentially doubling the text to create a white background
// now you will have to add it to tick to simulate movement
const text2 = text1
    .clone(true).lower()
    .attr("fill", "none")
    .attr("stroke", "white")
    .attr("stroke-width", 3);


//document.getElementById("dev").innerHTML = labels
//document.getElementById("dev").innerHTML += typeof graphData.nodes.map(d => d.name)


// Dragging functionality for nodes
function drag(simulation) {{
    function dragstarted(event, d) {{
        if (!event.active) simulation.alphaTarget(0.3).restart();
        d.fx = d.x;
        d.fy = d.y;
    }}

    function dragged(event, d) {{
        d.fx = event.x;
        d.fy = event.y;
    }}

    function dragended(event, d) {{
        if (!event.active) simulation.alphaTarget(0);
        d.fx = null;
        d.fy = null;
    }}

    return d3.drag()
        .on("start", dragstarted)
        .on("drag", dragged)
        .on("end", dragended);
}}


// This is Very Important; If you don't add this function there will be no coordinate
// Update positions of nodes and links on each tick
simulation.on("tick", () => {{
    link
        .attr("x1", d => d.source.x)
        .attr("y1", d => d.source.y)
        .attr("x2", d => d.target.x)
        .attr("y2", d => d.target.y);

    node.attr("transform", d => `translate(${{d.x}},${{d.y}})`);
    text1.attr("transform", d => `translate(${{d.x}},${{d.y}})`);
    text2.attr("transform", d => `translate(${{d.x}},${{d.y}})`);
}});

</script>
"""

display(HTML(html_code_2))- the common pattern is:
- selectAll(), data(), entre(), append()
- to add a label, you have to create a new element
This maybe useful to read: thinking with join
More on D3.Js method
d3_script = '''
const matrix = [
  [11975,  5871, 8916, 2868],
  [ 1951, 10048, 2060, 6171],
  [ 8010, 16145, 8090, 8045],
  [ 1013,   990,  940, 6907]
];

d3.select("body")
  .append("table")
  .selectAll("tr")
  .data(matrix)
  .join("tr")
  .selectAll("td")
  .data(d => d)
  .join("td")
  .text(d => d)
  .attr("stroke": "white");
'''
table_html = f'''
<!DOCTYPE html>
<html lang="en-US">
  <h1>Example Of Join</h1>
  <body></body>
  </html>
<script type="module">
    import * as d3 from "https://cdn.jsdelivr.net/npm/d3@7/+esm";
    {d3_script}
</script>
'''

display(HTML(table_html))
Example Of Join
Use a Prebuild Observable Module to add Label
from IPython.display import display, HTML
import json

json_data = {
    'nodes': [{'id': 0, 'name': 'A'}
              , {'id': 1, 'name': 'B'}
              , {'id': 2, 'name': 'C'}
              ,{'id': 3, 'name': 'D'} ],
    'links': [{'source': 0, 'target': 1}
              , {'source': 1, 'target': 2}
              , {'source': 1, 'target': 3}]
}

def read_file(filename):
    with open(filename, 'r') as f:
        return f.read()


js_function = read_file("ForceGraph.js")
assert js_function,'File Not Found'


html_code_3 = f'''
<div id="d3-graph-3"></div>
<script type="module" src="https://cdn.jsdelivr.net/npm/d3@7/+esm">

{js_function}

// Set the dimensions of the graph
const width = 600;
const height = 400;

// Append an SVG element to the div with id 'd3-graph'

my_svg = ForceGraph({json_data},{{
    nodeId: d => d.id,
    //nodeGroup: d => d.id,
    nodeTitle: d => d.name,
    width,
    height: 600
}});

d3.select("#d3-graph-3).append(my_svg)
</script>
'''

display(HTML(html_code_3))
# def write_file(x, filename):
# with open(filename,'w') as f:
# f.write(x)
# write_file(html_code_3, "label-force.html")Resources
- Obserable update method for: Adding Zoom or Drag
- in the new version of observable you use:
d3.drag()
.on(“start”, (event, d) => circle.filter(p => p === d).raise().attr(“stroke”, “black”))
.on(“drag”, (event, d) => (d.x = event.x, d.y = event.y))
.on(“end”, (event, d) => circle.filter(p => p === d).attr(“stroke”, null))
- Zoom and Drag Implementation in the old observable resources
- Difference betweeen d3.join and d3.append
d3.appendis adding child element.